

Free Download

Download Picture Collage Maker for Windows Now!

Awards

Testimonials
 This is a very nice and useful photo collage generator.
- Soft32
Really a great collage software ! Very, very fast and simple.
- Benjamin Glettenberg
Find Us
How to Change Date in a Calendar of Picture Collage Maker Pro
Photo calendars make great keepsakes, and are the perfect way to relive your favorite moments all year long! When you are making photo calendar with Picture Collage Maker Pro, suddenly one special template attracts you a lot, but the date of the calendar is not what you need, facing with this problem, you need to update the date of calendar. Picture Collage Maker Pro allows you to customize any date of the calendar, such as with year ranges from 2011 to 2012, or from October 2011 to October 2012. The following steps will show you on how to change the date in calendar of Picture Collage Maker Pro.
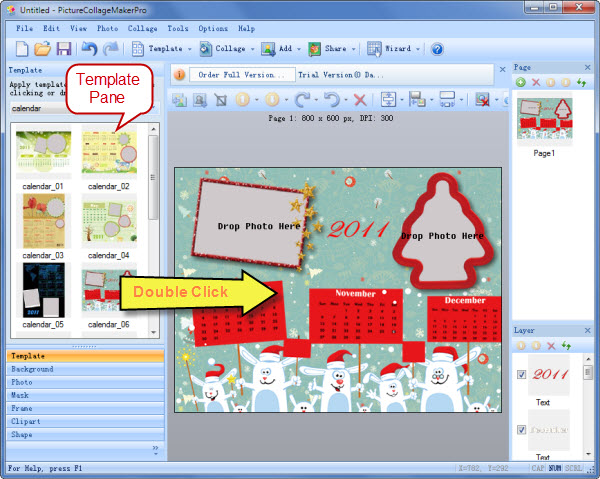
Step1 – Launch Program and Choose Template
To get started, download Picture Collage Maker Pro on the desktop and launch this program. Go to the Calendar Category, there are many preset calendar templates to choose from on the left Template pane of the collage, choose the one you like best, double click or drag it to apply it into full play.
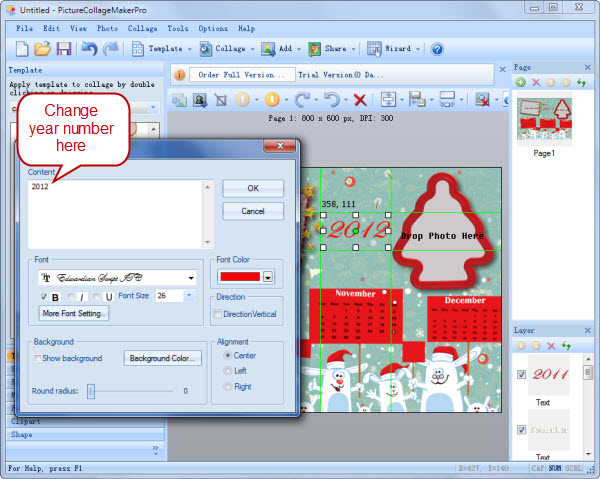
Step 2– Change Year on Calendar
Now you are ready to edit the calendar. In this template, you only need to double click the year number, then the popup window allow you change the year of calendar, inputting the year your what your calendar to be, meanwhile you could change the font, font color of the year, click OK button then the correct year number will be shown on the template.
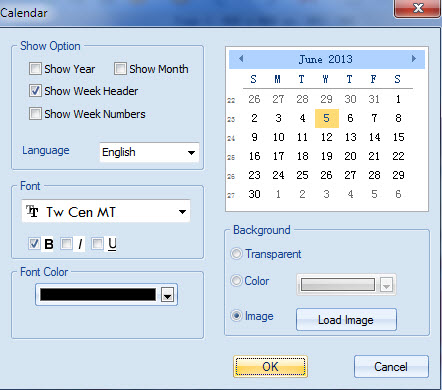
Step3 – Change Date on Calendar
Double click the calendar on the template, in the popup of calendar edit window, the program allows you to customize any element of the calendar, click right-arrow or left-arrow to change the month of the calendar. In another way, click the date between the two arrow symbols, drag the mouse without dropping until you position it to the date that you want your calendar to be. There are other settings you might choose, show year, show month, show week header and show week numbers of calendar.
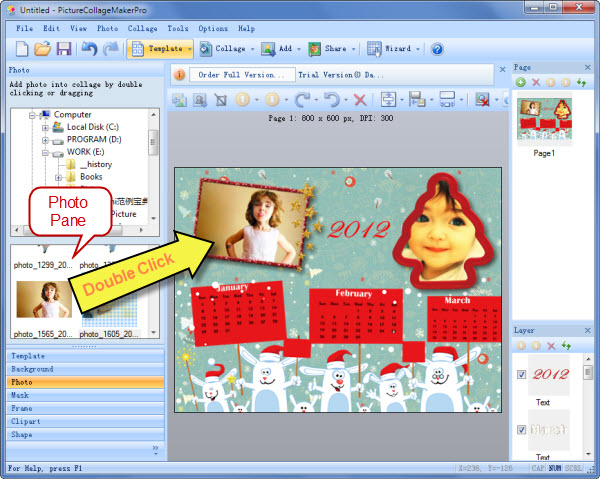
Step4 – Add Photos and Embellishment
Once you have changed calendar, you will need to add photos to enrich the calendar, choose your photos from your computer and add them into the collage edit area, you can also move and rotate the pictures to where and what looks better. In addition, you can surround your photos with a good frame and mask, or you can also select a few clip-arts to further decoration of your calendar on the left pane of collage.
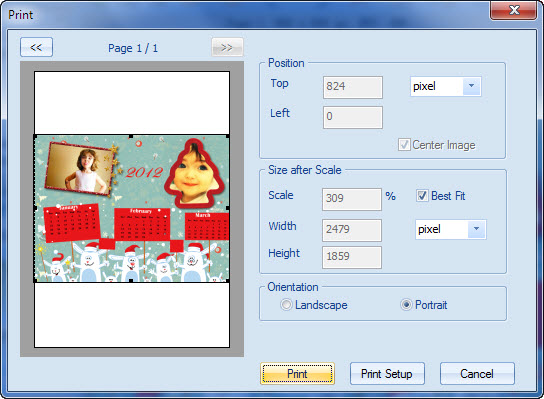
Step5 –Printing Your Photo Calendar
Once you've finished updating your photo calendar, it's time to print, click File on the top menu to have a Print view. You can print it as a calendar card, as wall calendars or as desk calendars putting on the desk.
|
 |
 |